- English
- Esperanto
- Català
- icelandic
- Kreyòl ayisyen
- Shqiptar
- lugha ya Kiswahili
- ភាសាខ្មែរ
- Монгол хэл
- Somali
- O'zbek
- Español
- Português
- русский
- Français
- 日本語
- Deutsch
- tiếng Việt
- Italiano
- Nederlands
- ภาษาไทย
- Polski
- 한국어
- Svenska
- magyar
- Malay
- বাংলা ভাষার
- Dansk
- Suomi
- हिन्दी
- Pilipino
- Türkçe
- Gaeilge
- العربية
- Indonesia
- Norsk
- تمل
- český
- ελληνικά
- український
- فارسی
- Burmese
- български
- Latine
- Қазақша
- Română
- Afrikaans
- שפה עברית
- Cymraeg
- Galego
- Latviešu
- беларускі
- Hrvatski
- Bosanski
- ქართული
- ગુજરાતી
- Hausa
- Corsa
- Kurdî
- IsiXhosa
- Zulu
- Chichewa
- Sesotho
- සිංහල
- Gàidhlig
- Cebuano
- Тоҷикӣ
- Hawaiian
- سنڌي
- Հայերեն
- Igbo
- Yoruba
- Javanese
- తెలుగు
- Euskal
- Azərbaycan
- Slovenský jazyk
- Македонски
- Eesti Keel
- Slovenski
- Srpski језик

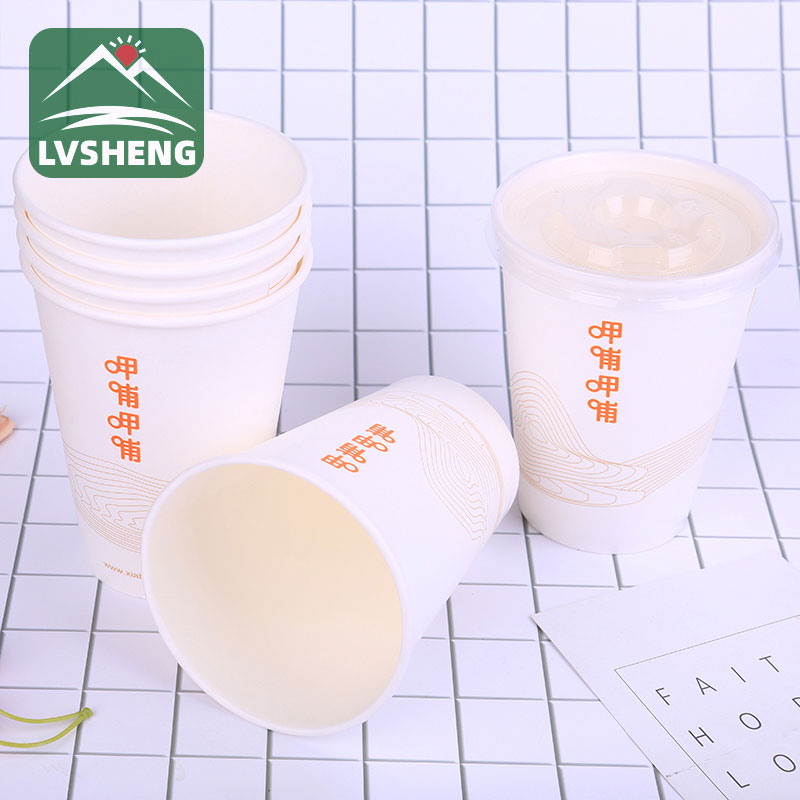
Precautions for Making Paper Cups (1)
2021-11-22
1. Knife Mould
Paper cups can be divided into 3, 4, 5, 6.5, 7, 8, 9, 10, and 12 ounces according to their size. The corresponding heights are 5.2, 6, 7, 7.3, 7.6, 8.4, 8.8, 9.3, and 11.7cm respectively. Due to different specifications, the corresponding die size is also different. Sometimes the knife mold can call the documents that have been made before, but some customers have special dimensions of the knife mold, which must be drawn according to the specified size, and must be overprinted after the drawing (the knife molds of all flexographic products must be overprinted). Then create a new layer and draw two circles, corresponding to the outer die, and then use these two circles to blend multiple circles with a blending tool.
2. Organize the colors
A large number of spot colors are often used in packaging printing, which increases the complexity of the process. There are many reasons for using spot colors:
First of all, it is generally impossible to use the combination of three primary colors of hue in packaging printing, especially those pure, bright colors and some special colors.
Secondly, the company's logo is often printed in the product packaging. These logos are sometimes the internal colors of the design company. Although these colors can be mixed with the three primary colors, spot colors are needed in most cases.
Finally, in packaging printing, spot colors are usually used for color separation of color halftone images. In fact, when printing coffee or brown, instead of using yellow, magenta, cyan, and black, it is simpler and easier to print with a single brown ink, and the color effect after printing is more realistic. Therefore, in flexo printing, when receiving a customer's manuscript, there must first be a special person to perform color separation processing, and then the production staff will produce it with the color separation result. Try to make all colors can be replaced with spot colors. But sometimes it is also made with overlapping colors, usually because the customer's color cannot be replaced by a spot color, but the customer has very strict requirements on the color, so it can only pass the basic color value given by the customer The mixture is superimposed to obtain.
3. Trap
The trapping is very necessary in the whole production process. Because of the flexibility of the flexible plate, it is prone to inaccurate registration. The trapping process means that even a slight registration deviation will not cause whitening or other inaccuracy. Coordinate the colors. The trapping process generally "expands" from a relatively lighter color to a relatively darker color. The outer layer is printed, and the size of the overprint is generally 0.15-0.25mm, which is determined by the customer.
4. Cut out, type
The content of the product should be vector graphics as much as possible. Because the originals of the customers are sometimes in JPG format, there will be jagged edges after the picture is enlarged, so it is necessary to make a cutout. Use the pen tool and text tool to cut out and type. Cut out as much as possible in the outline form, so that the cut out pattern and the original sample draft are as consistent as possible. Except for complex pictures, all other patterns must be cut out. When typing, pay attention to the size of the text and the same font. When making the text, turn the text into a vector diagram to be consistent with the original sample.
If the strokes of the text in the incoming document are too thin, it will not be printed because the dots on the plate cannot be printed during printing. In this case, the text needs to be bold. It should also be noted that the width of the gap between the strokes, because if the distance between the two pens is too small, the text will be blurred due to the spread of the ink during printing, so the text needs to be enlarged at this time to make the gap between the strokes change Big.
5. Anti-white button
The anti-white button does not have to be done as long as it encounters white, but when the color adjacent to the white is printed by two or more colors, the anti-white button must be done. Generally, the size of the anti-white button is 0.07mm, which is determined by the customer. If it is the area where the two-color overprinting is expanded, fill in the color with the smaller contrast between the two colors and the overprinted color. The purpose of anti-white is to give up one color. However, due to the extensive use of spot colors in flexo printing, there are not many cases of anti-white.
Previous:Meet the 16oz Paper Cup